
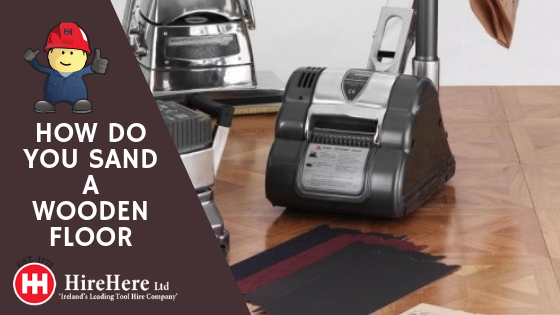
HOW DO YOU SAND A WOODEN FLOOR?
Our top 10 tips for sanding wooden floors
- When sanding a floor always aim to remove the minimum amount of wood.
- Use only as coarse an abrasive as needed.
- Over sanding reduces the life of the floor and dramatically increases the work needed to complete the job.
- Always test sand with a medium to fine grit abrasive first. If this will remove old finish and generally level the floor on the first cut, you do not have to use the more aggressive coarse grit abrasives.
- If the floor is uneven, cupped or crowned make sure there is no moisture problem.
- For new floors or for floors in buildings that have been left without heating always let the floor acclimatise for 1 to 3 weeks to its normal moisture content before sanding and finishing.
- Check the thickness of the floor before sanding by removing a skirting board, baseboard, moulding or heating register so you can measure the edge of the flooring. This is very important for pre-finished and laminate floors.
- If the floor has a hollow or deep scratch, make multiple passes forward and backwards across the area starting the first pass at a 30o angle to the hollow or scratch. Finish sanding in the direction of the grain. Only use fine grit abrasive.
- Use a soft lead carpenter’s pencil to mark exposed nails, excessive scratches, holes, etc.
- When changing from one abrasive grit to the next, do not skip more than one intermediate grit.
Floor Sander Safety
- Follow all instructions carefully; before we hire out a floor sander we will recommend specific personal protection equipment.
- Make sure the room is well ventilated at all times.
- Never smoke when sanding or finishing a floor.
- Keep power cables clear of the floor sanders at all times.
- Take care to dispose of sawdust safely, never throw sawdust into a fire or incinerator.
- Never leave a floor sander unattended with sawdust in the dust bag. Mixtures of sawdust and old finishes are subject to spontaneous combustion.
Finishing a Wooden Floor
Finishing a wooden floor is a very satisfying and rewarding job. As with sanding its important to be well prepared and to make sure you have ample time to complete the job. This includes leaving the floor for the right amount of time before using it – after all your hard work you don’t want to scratch and mark the floor by using it too soon.
Allow ample time to apply the finish, it’s best to start at the beginning of the day to give yourself time to apply the number of coats of PFF required all in one day.
If the area to be finished cannot be completed in one day you will need to lightly sand the floor before applying another coat the next day. Clean up the whole room taking care to vacuum up dust from window frames, skirting boards, baseboards, door-frames etc. It’s a good idea to vacuum several times to allow any airborne dust to settle so the room is as clean as possible. Inspect the floor carefully. Spot fill missed cracks and nail holes. Allow the filler to dry hard, then hand sand or use a small palm sander with the same grit as final machine sanding. Now remove all traces of dust from the floor by first vacuuming and then wiping over with a rag.